In the arena of eCommerce, product images are the essence for a successful eCommerce business you’ve tried for a long time, and you can run it if your customers are satisfied. Amazing images not only reflect your products’ quality but also act as windows in the stores, making 2 keys of business- transparency and trust. Online customers don’t have so much time to select the right product and always seek the shortcut method to do so only through viewing photos as they can’t touch the product physically. In this case, product photos are the main instruments that can help them to pick up the right product.
Only real and attractive product photos can entice online customers and persuade them to make a purchase online. And in this respect, perfect product photography is the prerequisite for creating amazing and customer-friendly photos that totally depend on some effective photography tips and tricks.
Though these product photography guidelines may seem somewhat perplexing for the beginner photographers, for some successful rounds they may be very and simple. These techniques will meet your needs whenever you’re going to try product photo shooting. Here are some tools you’ll need to get it done.
(i) A shooting table
(ii) A tripod
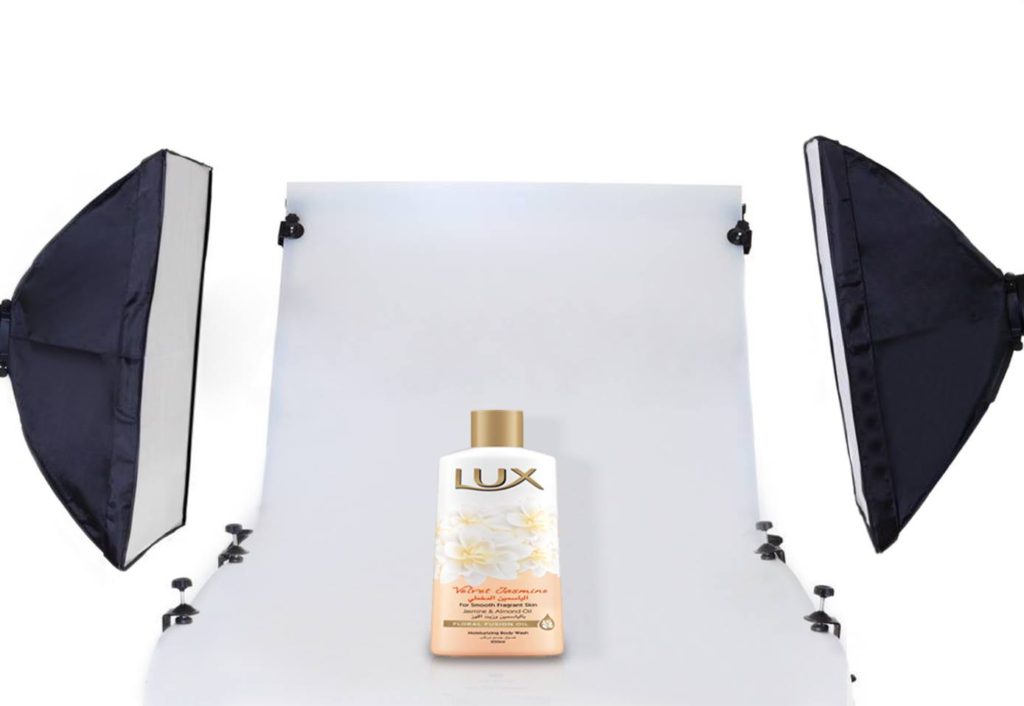
(iii) A light tent
(iv) Studio light
(v) A DSLR camera or your smartphone
(vi)A photo editing tool
Let’s start the product photography to take some amazing photos that must allure online customers.
In order to set up your product, you should mange some accessories, for instance, a shooting table and a light tent. You can easily make a shooting table by using a chair in your home, office or studio. Push your chair against a wall and tap craft paper on the wall as it naturally falls to the ground. As a light tent, you can create your own light box in a simple way.
First, you’ll need a large card box so that you can place your product in it. Then cut rectangular holes on each side of the box, and finally tape tissue paper on each side, over the holes. Tissue paper will create softer lighting for your photos so that your photos don’t have harsh shadows.
According to your product items, you should be prepared in this way.
a) If you’re going to photograph small jewelry items or other products that can’t stand in their own ways, then you should have fishing line in your tool box to stick items.
b) For apparel photos, you use mannequins that can be removed through post production process.
c) When you photograph a large item, you’re likely to use a stand mounted sweep but it may cost a little.
Perfect lighting is the precondition and heart of a right product photo shooting. If your lighting system is OK, then it’ll result in faultless product photos. It may be natural lighting, studio lighting, or the combination of both. Considering the situation, you should choose your lighting system and then get ready to shoot products.
If you’re shooting product photos on a tight budget, then it’s better for you to use natural lighting to save you time and effort. When it’s brightest at a day time, and you think so much shine will come out of the window, you can take photos for your products. But you should bear in mind that you should not take photos under direct sunlight as it may cause harsh shadows.
If you don’t have the opportunity of using natural lighting and you’re compelled to use studio lighting, then you should have 2 soft box lighting setups, one for your key light and the other for your back-light.
Key light should be placed in front of the product and the backlight on the opposite site. You can also use white cardboard to diffuse some of the light you don’t need. Also, in this case, you should bear one thing in mind that this lighting system gives you much control over the shooting, especially if you would like to shoot several products within a few hours.
In order to make your photo shooting stable, consistent and steady, you must use an ideal tripod that can fix your camera. If you’re going to shoot in a tight budget, then you use a stool as your tripod. But when you have some budget, you can purchase a nice tripod under $30 to stabilize your camera.
The advancement in technology has made it very easy to have a smart phone camera that you can use for a seamless photo shooting. Also, the prices of DSLR camera have recently dropped to a great extent and you can also use for your photo shooting. However, before shooting products, your camera should be in a low aperture and slow shutter speed. That way, your whole product will be in focus, leaving your product look real and crispy. When camera setting is adjusted, it’s to time take photos pressing round button of the camera.
It’s a wise act to retouch raw images you’ve already taken. In order to make your images polished and refined, you must do post-processing and it may cover anything from removing background to removing mannequins, changing color, or adding shadow to make them more natural and appealing. Thanks to photo editing apps to make this process very easy and comfortable. You can choose any one out of the following: i) CANVA ii) Fotor iii) PicMonkey iv) Pixlr
Or, you can utilize Adobe Photoshop if you’re accustomed to having tasks in it.
#product_photography_ideas
#E-commerce_photography_tips

Graphic World 24 is one of the world’s largest photo editing & image manipulation service provider companies based in Bangladesh. We have been offering image editing and photo manipulation service since 2007. In these couples of years, we have become a team of 55 dedicated graphic experts. Whatever we are doing here, just we are doing perfectly...
read more
Address: 51/1, Lalbagh Cross Road, Dhaka-1211, Bangladesh.
Phone: +8801621747032
Email: info@graphicworld24.com
www.graphicworld24.com